Batteries
- FRC Batteries are 12V Sealed Lead Acid (SLA) Batteries- the same kind found in your car.
- In FRC, we try to push our batteries to the limit so that our bot gets the most power possible delivered in the most efficient way. By pushing batteries to their limits, we need to be very careful.
- This means for one following all of the safety guidelines to a tee, as batteries can quickly become the most unsafe thing on the robot.
What to Get
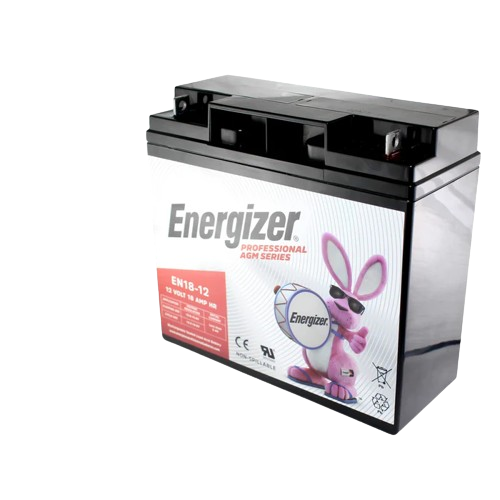
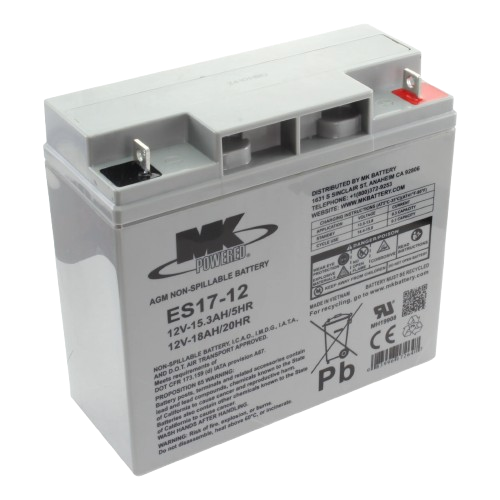
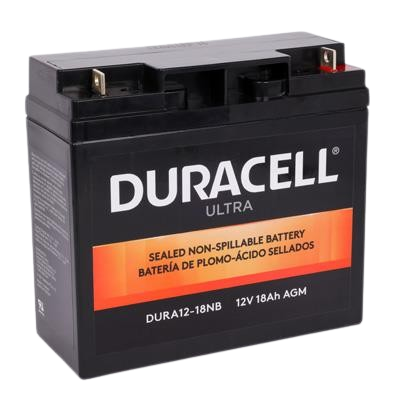
Wires/Connectors for Batteries
- There are two main options for battery wires and battery connectors. We use 4 and 6 AWG wire for batteries and for connectors we use SB50s and SB120s.
- You will usually pair up 6 AWG with SB50s and 4 AWG with SB120s, but people have gotten away with fitting 4 AWG wires into SB50s. This is not recommended, because that is not what the SB50 is rated for and makes things needlessly difficult.
- 4 AWG with SB120 connectors is recommended, as this provides slightly more efficient current draw when compared to 6 AWG and SB50s.
- Teams also use 2AWG with SB120 for a slight performance increase
Battery Assembly
- The two ways that battery lugs can be connected are by using 2 Nordlock Washers or by using a Grasshopper Nut with 2 Nordlock Washers. Both methods will be used in tandem with a 10-32 bolt and nut, with heatshrink placed over top.
- Grasshopper Nut: It provides a mechanical interlock between the battery terminals. It allows for an incredibly secure connection. To create this from scratch, create the sheet metal part through a machining service or in house, then insert the PEM nuts and bend the part using a 3d printed jig with this CAD provided for by TTB.
- Nordlock Washers: Basically a serrated washer. When tightened, the serrations embed into the surfaces, which creates a wedge effect, so as to maintain preload and prevent loosening.
- Warning: NEVER use the built in stuff. Sure, it works but it creates a loose poor strength connection. In fact NASA has proven lock washers useless for preventing loosening during vibrations as found on page 9 of their study (page 13 of the actual PDF).
- The Lug will be connected to the wire the same as the connector terminal is done so. Read the next section for information.
The Connector, Lug, and Wire
- The Lug (generic product link attached) can be from practically anywhere. The only requirements it needs to have is that it is rated for 10-32 hole sizing and whatever wire gauge you choose to use. The terminal should be whatever comes with the connector.
- The Battery crimp is extremely important. The iCrimp Crimper is recommended
- Step 1: Strip your wire to the length of the terminal or the lug. For exact measurements, check the documentation or compare the length to the terminal/lug with your eyeball.
- The wires you will be using are high gauge and regular strippers won't work on them. Therefore, you should use a pair of flush cutters and be careful to not nick any strands (if this is done, cut off the end and try again).
- Fingers may also be used to peel back the insulation with risk to your skin.
- Step 2 (FOR LUGS ONLY): Place the heatshrink on for the lugs. This should be done now rather than later as lugs and terminals may be bulky.
- Step 3: Crimp the connector. Usually your crimper will have a hexagonal die and will sometimes have the millimeter number on it.
- For 4 AWG use the 25 setting, as 25mm^2 is equal to 4 AWG.
- For 6 AWG use the 16 setting with the same logic. 2 crimps for each terminal/lug is recommended for optimal grip onto the wire.
- This crimp takes a lot of force and may be hard for some so assistance can always be asked for.
- Step 4 (FOR LUGS): For lugs, perform the steps described in Battery Assembly, and then, being careful to not allow any metal (including the metal already on the battery) to be exposed, move forward and heat up the heat shrink.
- Step 4 (FOR CONNECTORS): once both wires are done, place them into the connector, with red as positive and black as negative. The hook should go over the metal bit at the end and a click should be heard. To undo, use a flathead screwdriver to pry the hook over the metal bit.
Battery Process Flowchart
The following flowchart summarizes the typical battery workflow from selection through assembly, charging, and checks.
flowchart TD
    A[Start with a battery] --> B{Battery selected?}
    B -->|No| C[Choose a compliant SLA battery]
    C --> D[Inspect terminals and case]
    B -->|Yes| D
    D --> E[Prepare wire and connector]
    E --> F[Crimp lug or terminal]
    F --> G[Secure with washers and hardware]
    G --> H[Apply heat shrink or insulation]
    H --> I[Connect positive and negative correctly]
    I --> J[Test connection and polarity]
    J --> K[Install on the robot or store safely]
    K --> L{Needs charging?}
    L -->|Yes| M[Charge with an approved charger]
    M --> N[Check voltage and internal resistance]
    L -->|No| N
    N --> O[Use battery or rotate it into the battery cycle]
    O --> P[End]
Maintaining Your Battery
What you need to do to make sure your battery remains competitive!
Charging
- The AndyMark NOCO Chargers are heavily recommended. These come with FRC connectors and are very good chargers.
Checks
- CTRE’s Battery Beak is a tool for quick battery checks during competition: it’ll let you know whether your battery is good or not with a simple plug in to your battery. If you are using a SB120 get the CTRE Adapter or for a cheaper cost, create the adapter yourself with an SB50 set, SB120 set and 6 AWG wires.
- For matches:
- Ideally under 15 milliohms internal resistance.
- Ideally at least 120% at the top left. 130%+ is incredibly ideal.
- For testing:
- Under 20 milliohms. If your battery is over 20 milliohms, do not use it at all on your robot, as it will demonstrate poor performance.
Overall Health Tests
- For basic health tests, the battery beak with internal resistance can be used. However, for capacity tests and overall health tests a dedicated tool should be used.
- Cheaper Option: Use a car battery checker. This will provide for a great overall health test. Purchase an analyzer and crimp either an SB120 or 50 to it.
- If you want to do an actual capacity test and have the money, get a CBA.
- It graphically displays and charts the voltage versus time under a constant current load. Graphs can be displayed, saved and printed, and axis parameters can be changed at any time.
- Multiple test graphs of the same battery, or multiple batteries, may be compared or overlaid.
Best Practices
Best Battery Practices
- Always write down when the battery is first used: You can use the AndyMark stickers that come with the kit or just use a sharpie and some tape. Label month and year.
- Have a set circulation of batteries at competition. Regulate based on the performance of each battery.